
 Call (323) 5215131
7 Steps to Install a Tesla Charger at Home
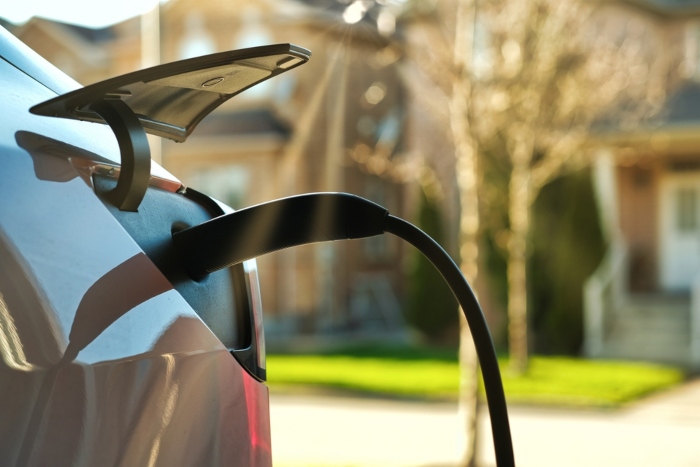
You’ve decided to purchase a Tesla and are currently considering your charging options, right? If so, you should know that the majority of Tesla customers use public or office chargers, while some install Tesla chargers at home. This can come via a specially installed Tesla home charger, or you might end up charging your Tesla using a dryer outlet.
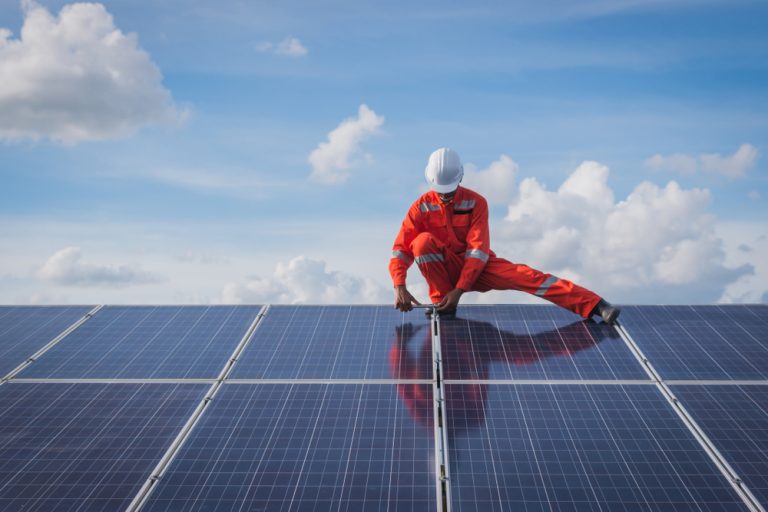
Preparing for the installation process will help you do it more effectively. It is impossible to overstate how convenient and time-saving charging at home is. Simply plugging in and topping off the car every time you arrive home at night ensures that you always have a “full” tank when you depart. But all this pleasure comes with a big charge, so you need to be ready.
The first step in installing a Tesla charger is choosing the appropriate charger, enabling considerably faster charging. Ordering a Tesla Wall Connector is simple and can be done through their website. The hardest part, though, starts after you pick one and place your order.
Tesla will deliver the Wall Connector to your home after you place an online order, so you can contact an electrician to install it. The next step would be to schedule the installation of your wall charger.
Installing a Tesla charger requires the following steps:
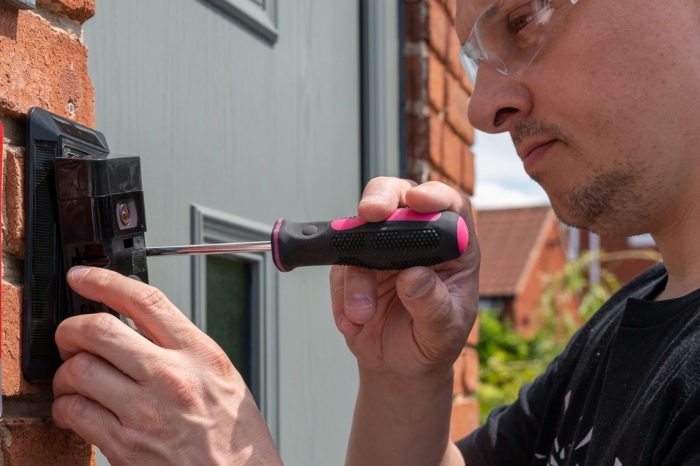
1: Opening Up the Charger
The charger’s front cover must first be removed after being taken out of the box. On the Tesla charger, there are two covers. Carefully pry up on the edge of the cover, starting on one side at the bottom of the charger, until the plastic clamps begin to disengage.
2: The Baseplates
Two baseplates, or mounting brackets, are included with the Tesla charger. If your conduit will enter the charger from the bottom or back, use the low-profile bracket; if it will enter from the top, use the top entrance bracket.
3: Mount the Charger
A suitable place must be chosen before mounting the charger. Initially, confirm that the cord will reach the charging port on the vehicle. Tesla suggests placing the device 4 feet off the ground with at least 8 inches of space around it on all sides to allow for hanging the rope.
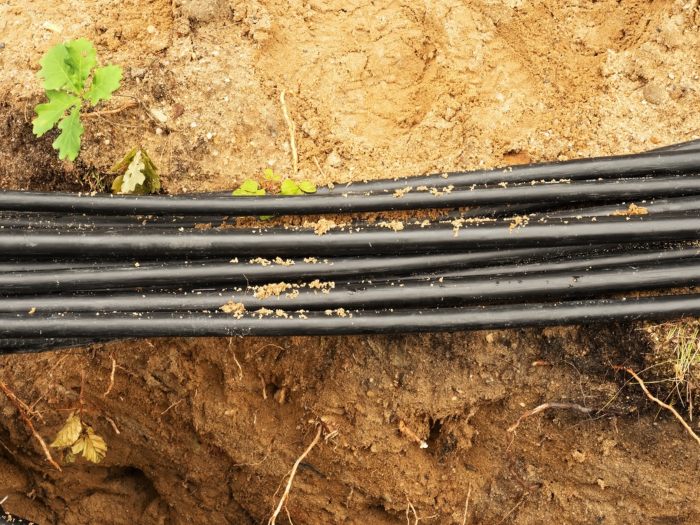
4: Run the Conduit
The Romex-type wire that is not protected may be able to be run straight into the rear of the charger if it is mounted on a finished, studded wall, but conduit must be run between the electrical panel and the charger for all other wiring configurations.
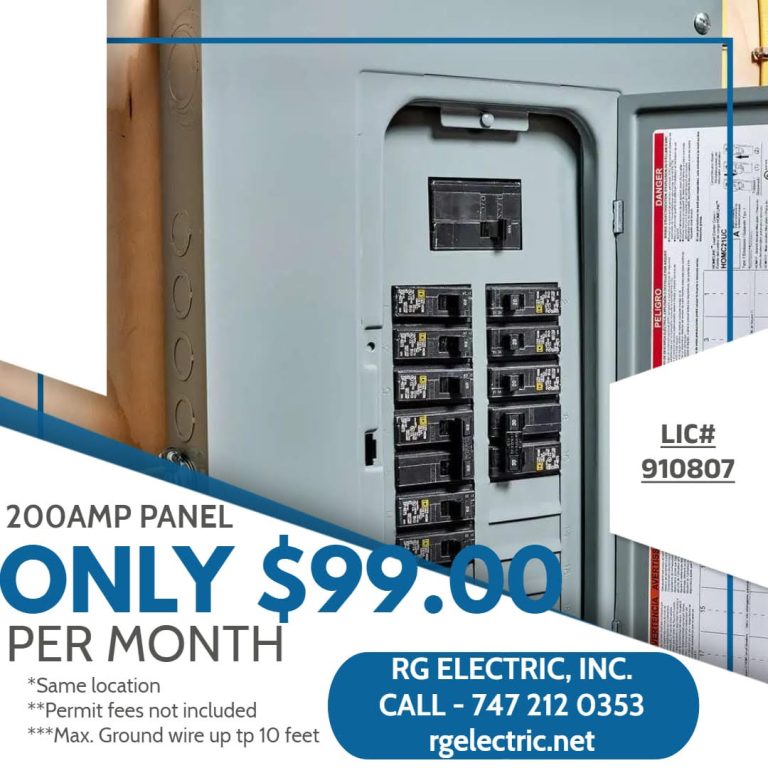
5: Connections in the Sub Panel
Turning the breaker on the main panel that supplies electricity to the sub panel should be done before performing any electrical work on the sub panel. You might not be able to switch off the electricity to a primary panel while you’re working on it. A certified electrician will understand how to properly work on a live panel.
6: Connections in the Charger
On the circuit board, a little aluminum block is where the neutral wire is connected. On the side of a sizable green plastic block, terminal connectors are used to connect the two-phase wires. The phase wires are held in place by two Phillips screws located on the block’s top. Before entering the wires, make sure the screws are completely unfastened.
7: Closing the Charger
Once the wiring is complete, the charger can be re-closed. Make sure the ribbon cable is connected to the circuit board on the inside of the cover before you replace the inner cover.
Keep in mind that Tesla charger installation is a complicated process, and we suggest you not try to do it yourself but use the help of an experienced service.